Hello there,
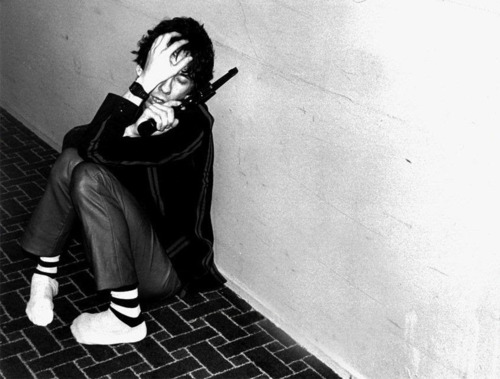
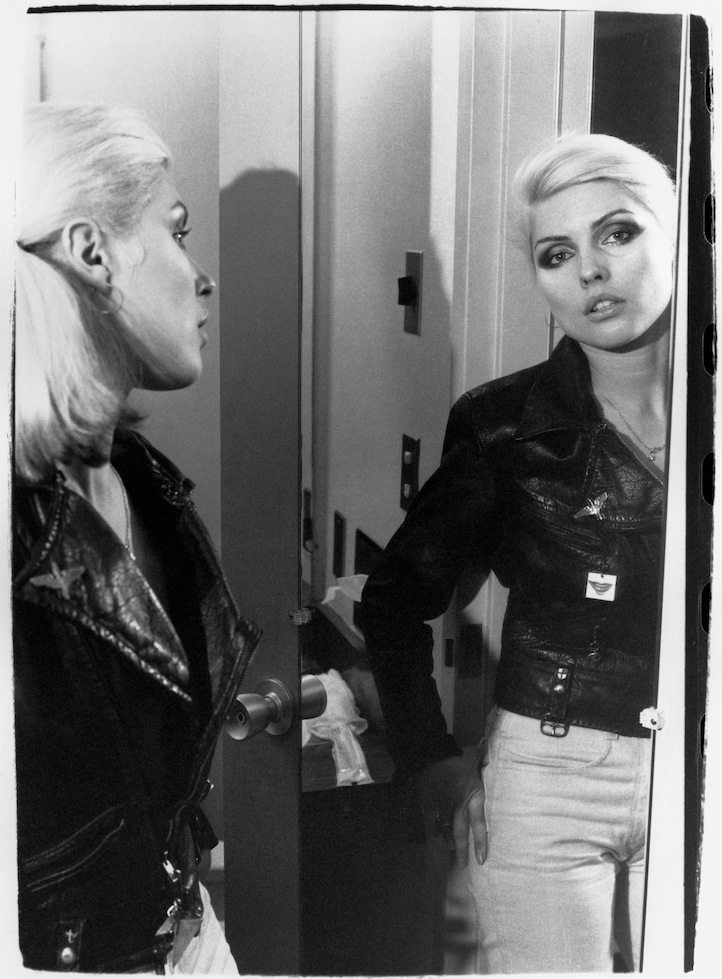
Last night I attempted a indoor-lighting photo-shoot, playing postpunk LPs at loud volume while all around me the children (ahem, undergrad college students) howeld (literally) in to the night. Now, I lived in football towns before (Athens Bulldogs? or Dawgs, as they said?) but I have never heard such madness: it’s like the world has ended and various tribes roam the streets shouting out obscure chants, howling in unison when they pass another group of fellow tribespeople, fighting viciously when they meet a hostile tribe (like University of Virginia.) Actually, it’s 9 am and I can still hear them! My God! I must be old. But truly, in Athens, GA, the students at least tried to seem cool. I never thought I’d say this, but I really miss those pretentious hipsters. They only howled when roaring drunk. And they dressed better. I suppose I’m just homesick, let’s move on to my real subject; but first a couple photos from last night


 all for sale on etsy.com/shop/CrateDiggers btw!
But as I said, Inner tube rubber: here are a few of my creations. I’ll explain how I made them as best I can, but I reccomend doing your own experimenting. I couldn’t find any really useful tutorials on this subject, and once I’m a litte more experienced I intend to write the first: I hate it (but respect it, too) when people keep their creative process a secret. Imagination is unlimited. Tell us what you figured out at let us fly from there. . .anyway, if anyone knows of a good tutorial on inner tube rubber jewelry, share it with us? I’d be so grateful! Here are my First Tries:


 Feathers: I cut a leaf-like shape, snipped out the stem at the end, and proceeded to use quick snips to fringe on both sides. I cut curving fringe towards the bottom of the feather to give it realistic movement. Then I went back in and cut my fringes in half. In the process bits were removed entirely, which opened up the design and allowed you to see the individual fringe in places. Then I went back in and used short nips of the scissors to give each fringe-tassel an angular (as in not squared off) tip. I wasn’t happy with the dull black so I used a Sharpie to give the rubber a glossier black. I covered the back of each feather in silver ink and brushed the tips of the fringe on the front side in silver as well. It’s very subtle and doesn’t show up here, but I like the effect.
Punk Collar: I cut a fresh tube into wide bands, slanting the scissors to give each piece a triangulat shape. I overlapped the pieces, gently curving them to create a semi-circle to sit nicely on the breastbone. After MUCH trial and error, the best way I found to attatch them was to sew a X (cross-stich) connecting the pieces in the CENTER of the overlapping edge. If you sew along the TOP of the necklace, the pieces fan out wildly: you’ll see! So, center stich, and re-enforce them or use a glue as well so it’s punk-rock-sturdy. I then sharpied my thread (I didn’t have black, and decided I didnlt like the contrasting look after all) and agan inked the rubber to a blacker shade of black.
Glass: Now, I still havent learned to cut straight strips of this stuff. I hear a rotary cutter works well, otherwise it requires more patience then this girl has. Then again, I have to be able to finish each project in one sitting. I took a glass tile which I had been hoarding,knowing it was too pretty to throw away, and looped each edge through a thong made from the rubber strips. You could use a twig painted silver instead, or any pretty, vertical object that would be otherwise difficult to stick to anything. Ran jumprings through the rubber thongs using a safety pin to make the hole, and attatched to chain. Oh yeah, same trick with the safety pin/jumprings on the first piece. Add a closure. If you are lazy, a safety pin will actually not look bad here.
Feather Necklace: I took the feathers from the first paragraph, threaded them on a wire under a piece of white turquoise, and threaded it on my chain (although a rubber or leather strip might have looked better.)
These things aren’t up for sale officially, but email me if you’re interested, $10 will be fine since they are first-runs, $15 for the collar as it took for bloody ever. free shipping. Hell, you know what? The first reader to comment receives the piece of their choosing FREE. I am new to blogging and I don’t know how to share my blog’s exsistance or find other wordpress blogger yet. Don’t laugh please! I’ll figure it out and then I’ll feel rather silly, but in the meantime, the first reader to say hello may have one of anything I’ve made for free, because they are surely awesome. (Except that Fall dress! I bought the American Apparel black dress to print on in Miami, which cost more than I’d spent on groceries in a month. Plus I’ve already worn it and it looks bangin’ 😉
Wow! Now I see how hard it would be to write a proper tutorial! As I head up to the workshop for the day I’ll bring my camera this time.
xoxoxo as always,
Susan Renee
whtelightwhiteheatdesign@gmail.com


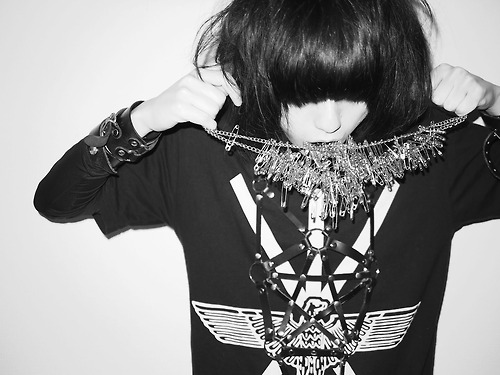 “Statement Necklace”